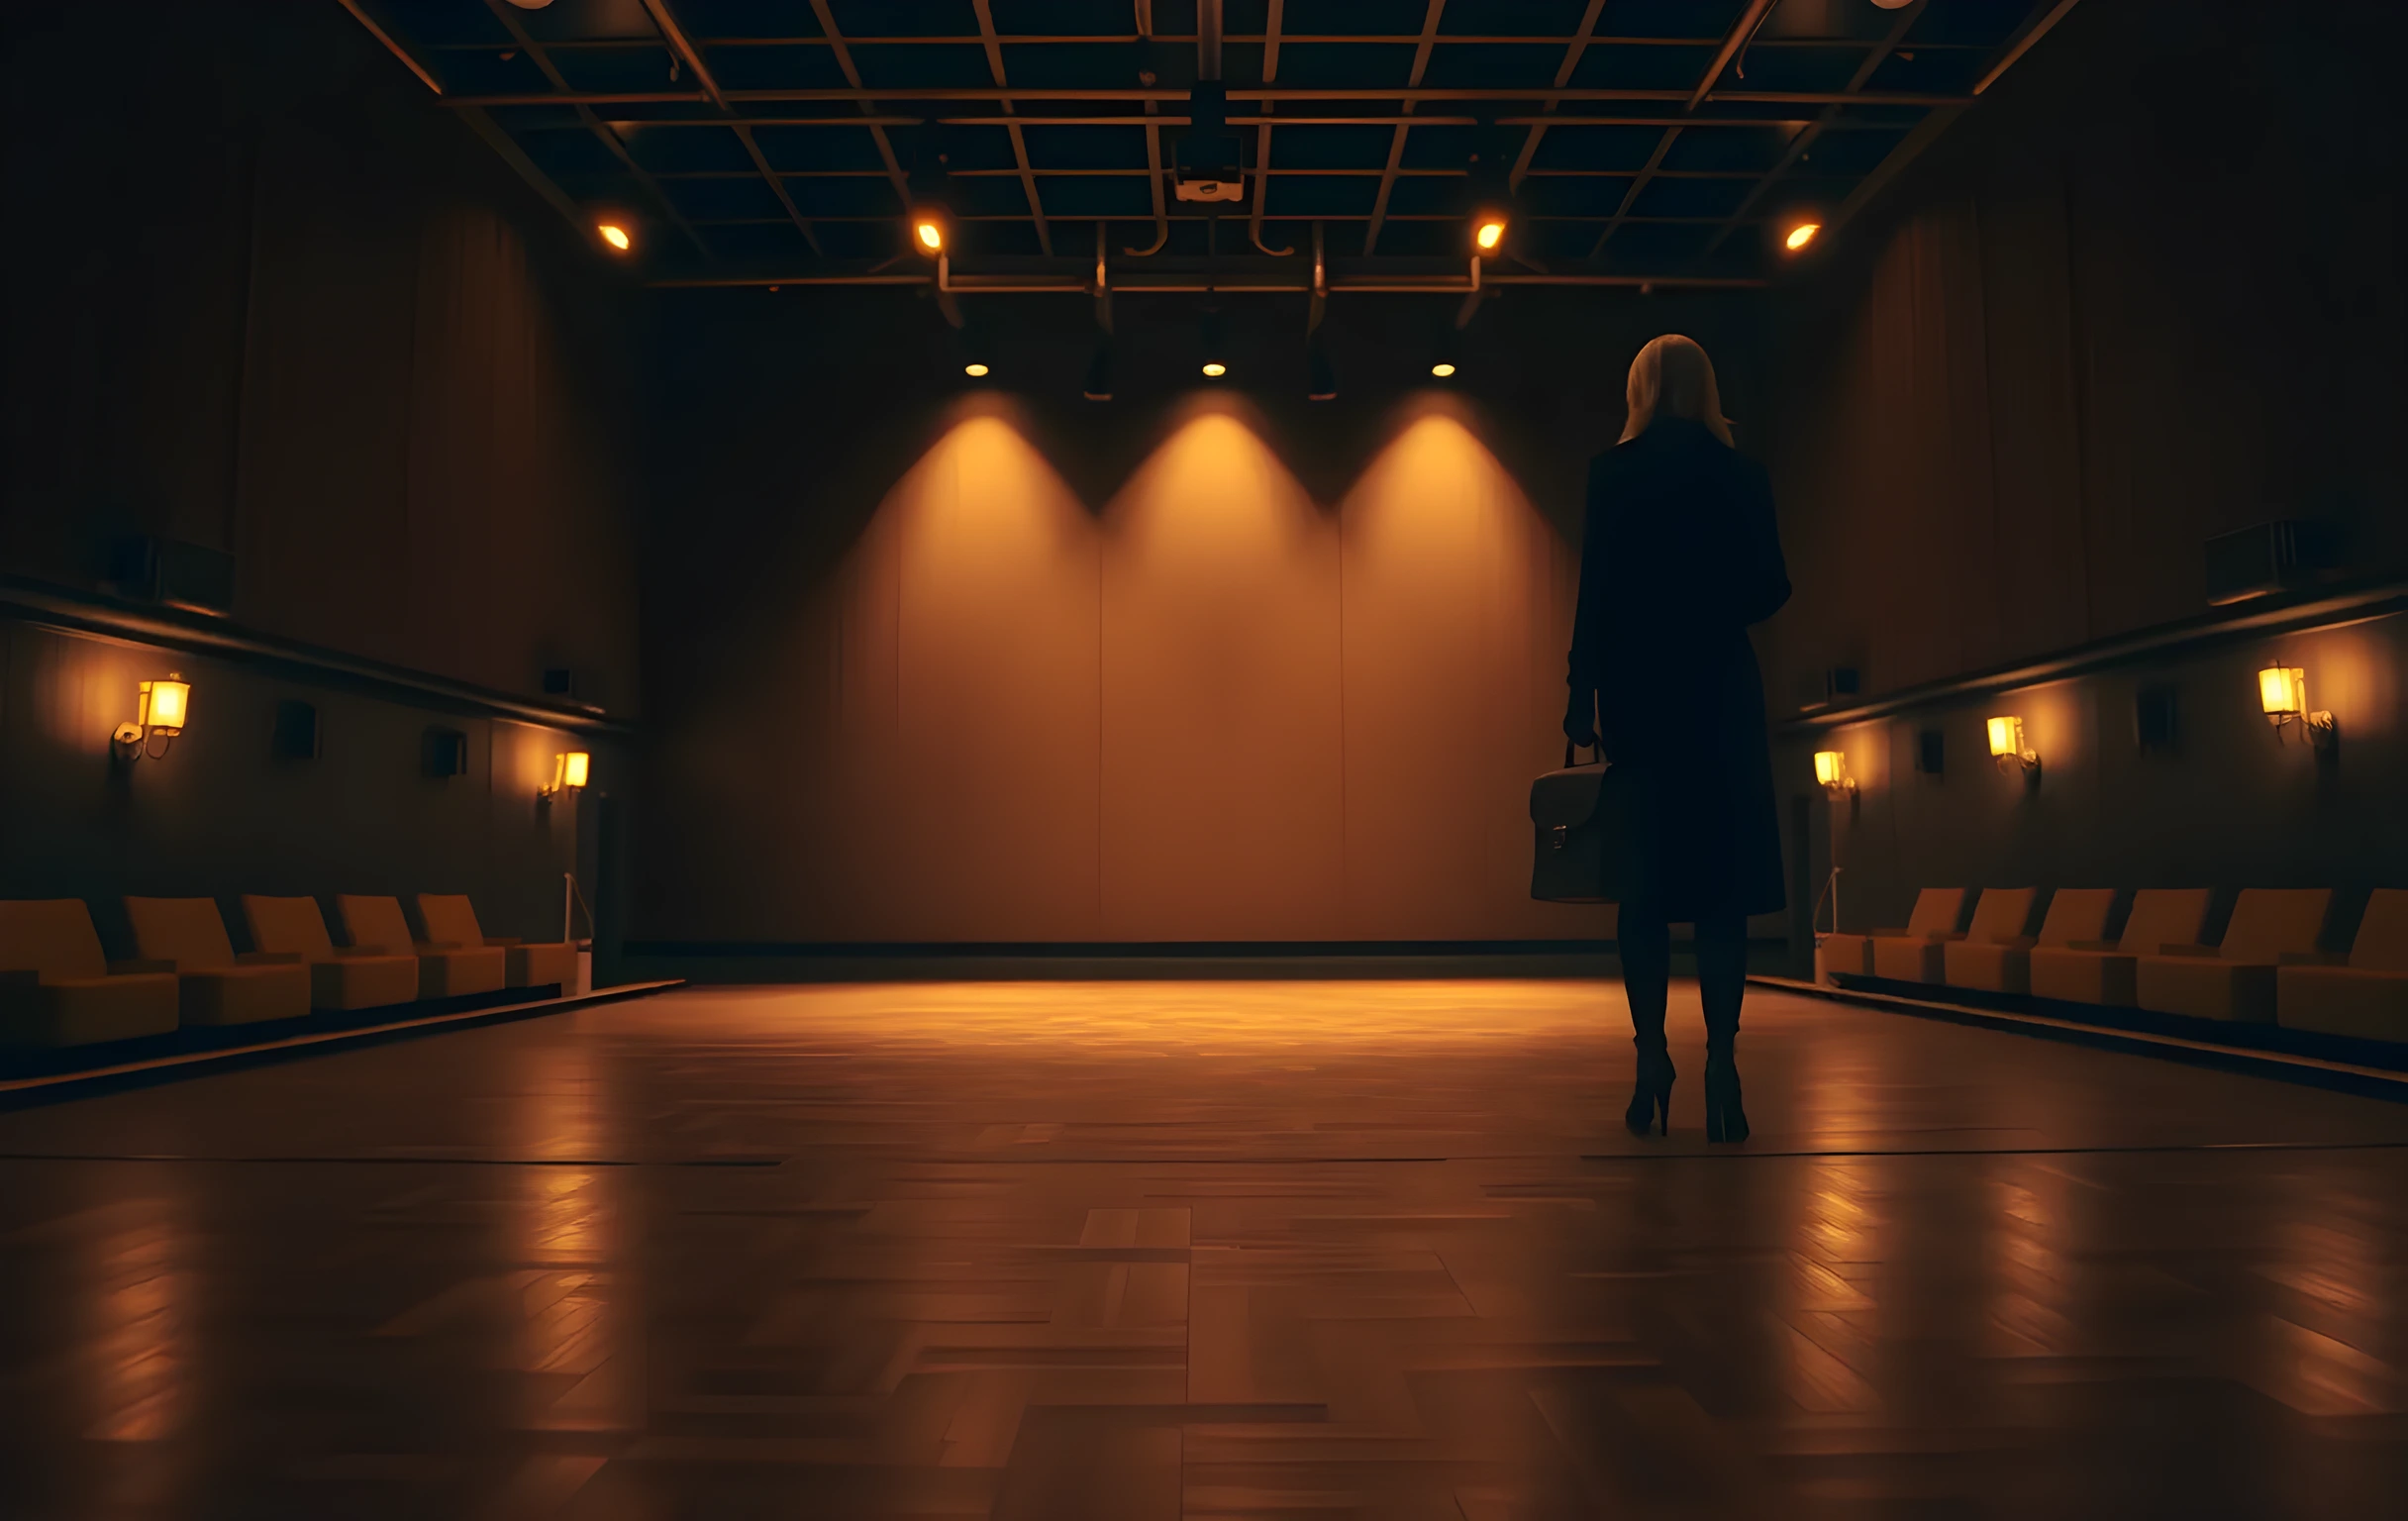
Choose Scenes That Match Your Casting
Focus on material that mirrors the work you are actually auditioning for, not the work you wish you had. I spent years collecting beautiful, dramatic monologues that looked stunning in a quiet room but never reflected the grounded, everyday truth my type naturally carries. Casters are looking for specificity, so pick two contrasting pieces that prove you can navigate different emotional registers while staying within your authentic demographic.
Do not chase trending formats or try to force yourself into roles that require a completely different physicality or vocal pattern. The industry already knows what you look like; what they are trying to verify is whether your instincts hold up under pressure. Select scenes that let you play your actual age, your real background, and the specific professional lanes you want to work in.
Cut Your Best Work To The Second
Start your reel with your absolute strongest material, because casting directors will decide within the first five seconds whether to keep watching. Trim every scene down to roughly thirty to forty-five seconds, keeping only the moments where your choices are clear and your listening is visible. You do not need the full setup or the resolution; you just need the pivot where your character truly shifts.
I always edit my reels with a metronome in my head, cutting on the exhale right before the next line lands. This technique keeps the pacing tight and prevents the viewer from drifting. When you remove the padding, you force yourself to make bolder choices, and those bold choices are exactly what get you called back.
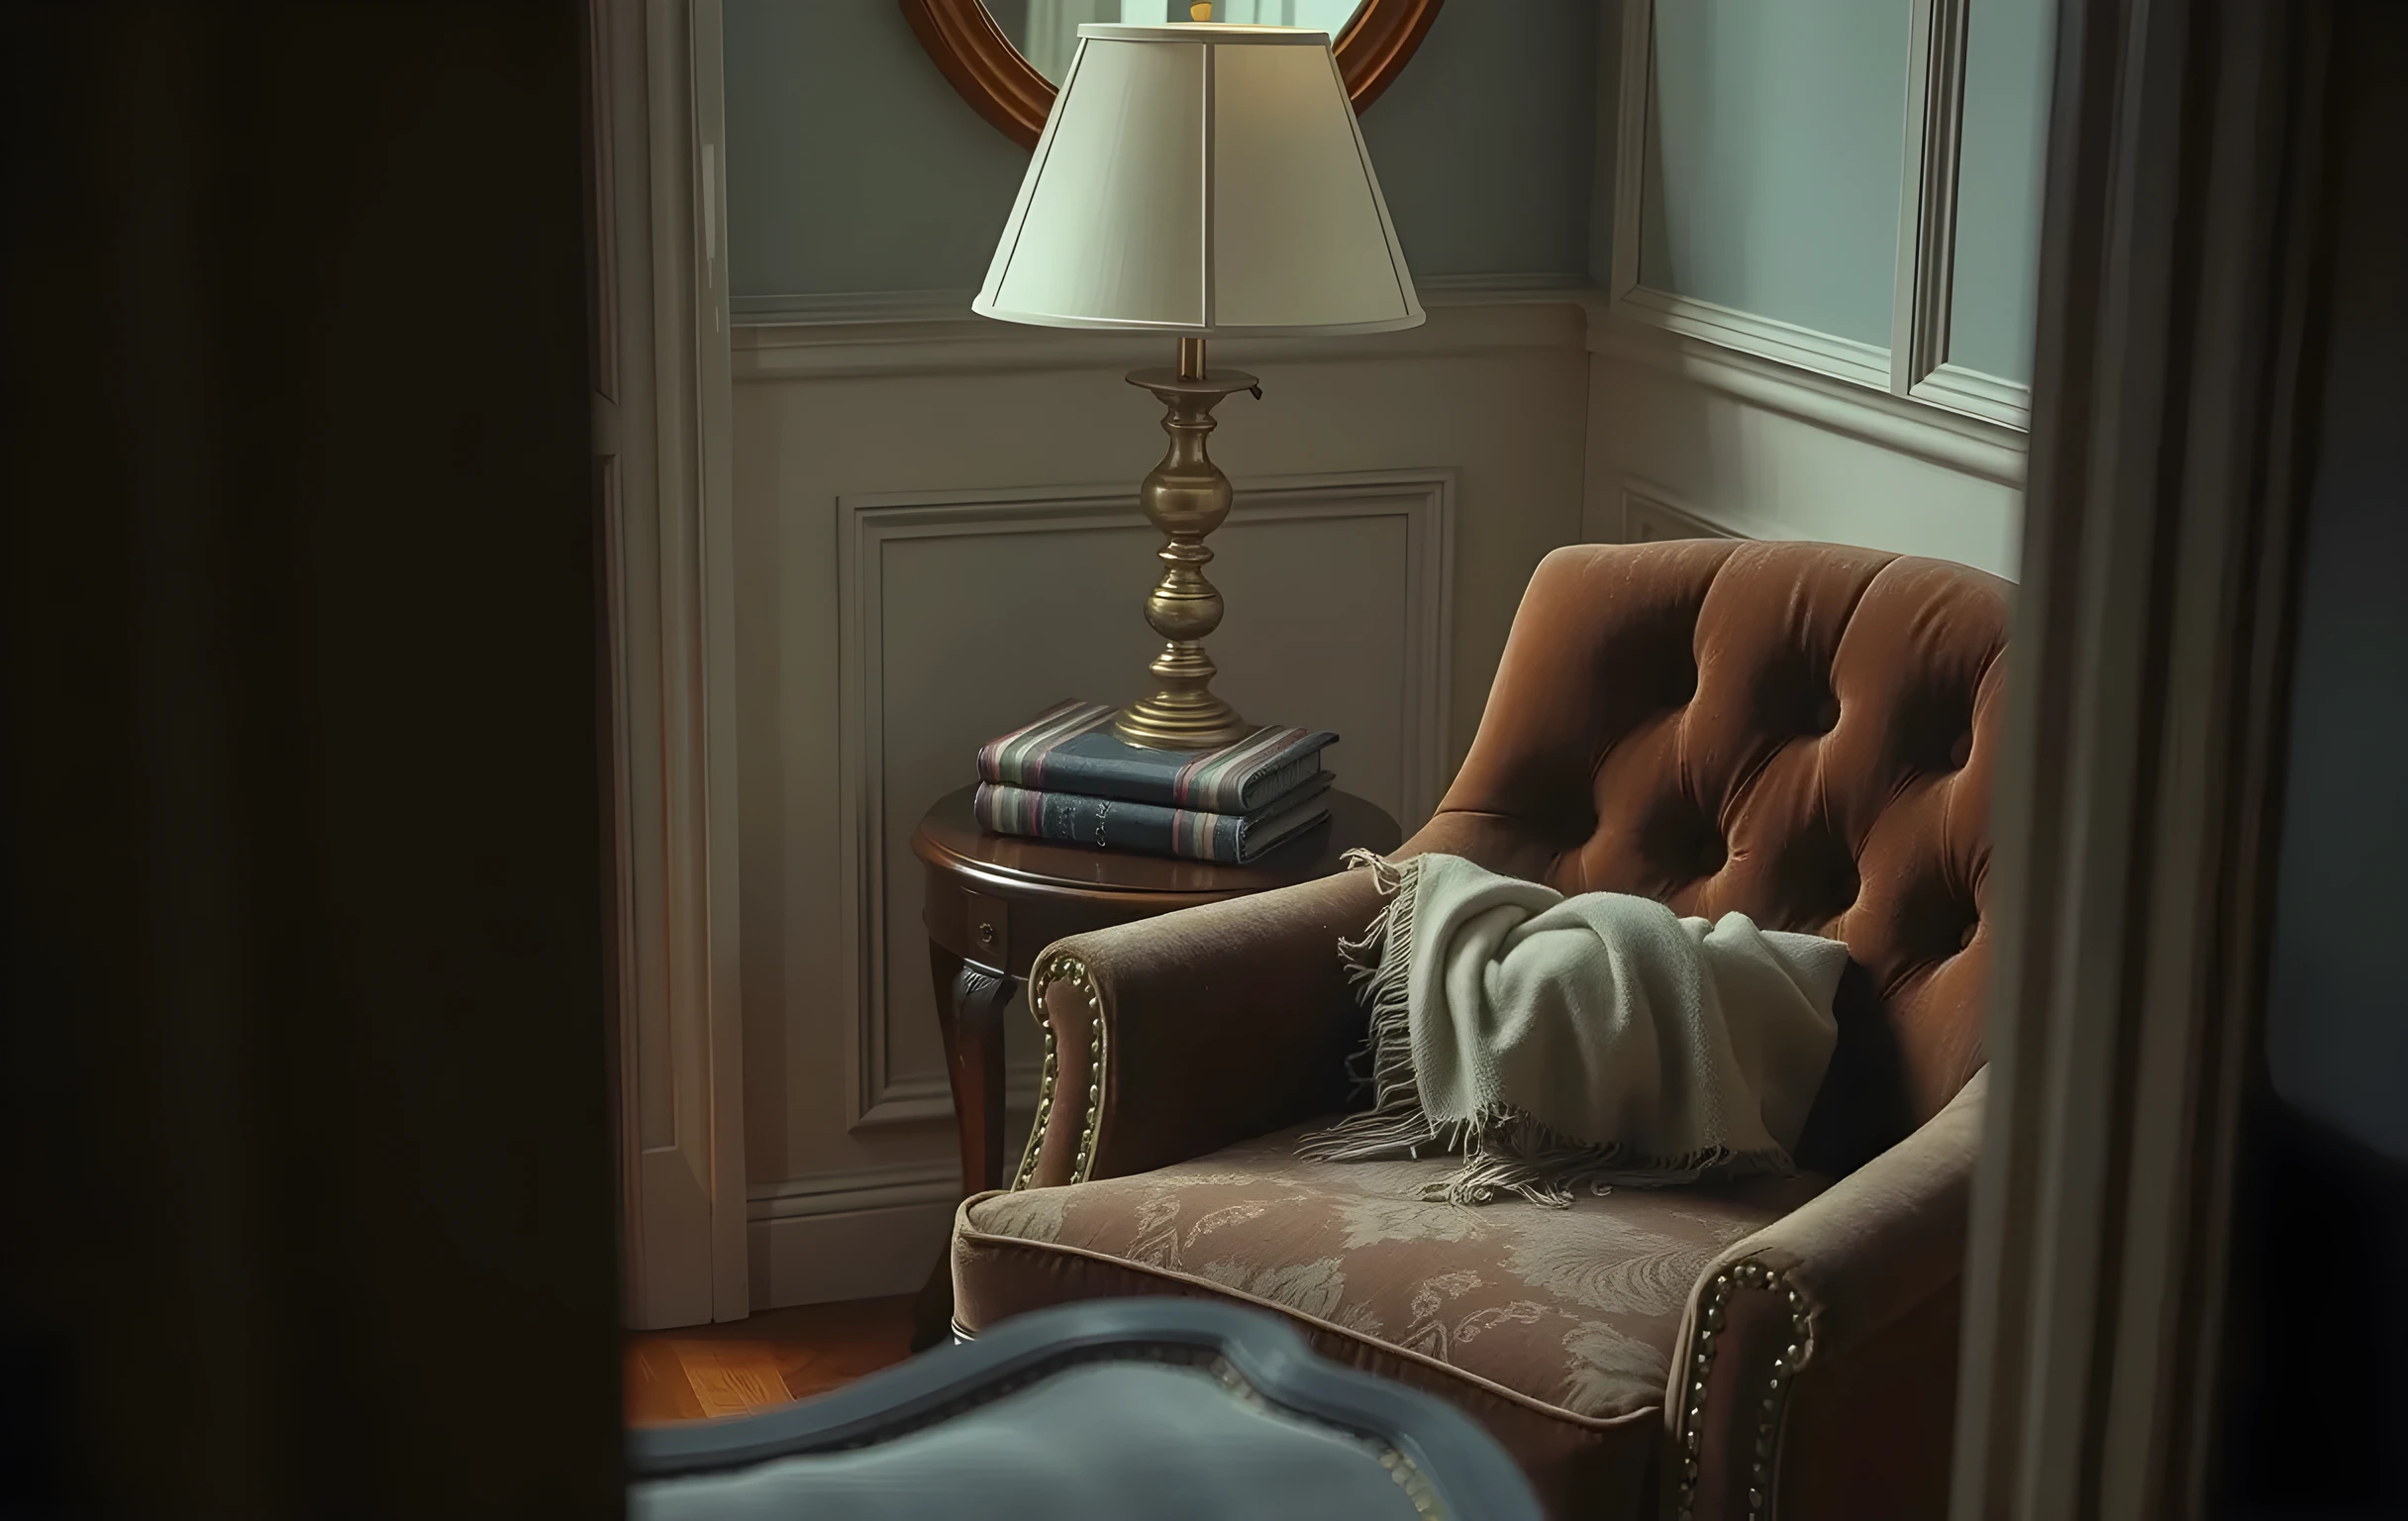
Structure Your Reel Like A Mini Play
Arrange your clips to create a deliberate emotional arc, moving from one tone to another so the viewer experiences your versatility in motion. I usually open with something quiet and observant, shift into a scene that requires active conflict, and close with a moment that lingers on stillness or humor. This progression feels intentional rather than random, and it subtly demonstrates your understanding of pacing and dramatic structure.
Think of your reel as a three-act short film where you are the director of your own narrative. The opening establishes your baseline, the middle challenges it, and the finale leaves a lasting impression. When you guide the viewer through this journey, you show that you understand how to build momentum and sustain a character across time.
Polish The Audio Before You Add Graphics
Never sacrifice clean dialogue for visual flair, because a muffled line will instantly break a director’s trust in your professionalism. Record fresh dialogue on set when possible, or use a simple room tone pass to replace the original track without introducing background hiss. Add your name and contact information only at the very beginning and the very end, keeping the screen entirely focused on your performance.
I have seen talented actors lose opportunities simply because their reels were layered with distracting sound effects or uneven volume levels. Audio is the backbone of acting, and casting teams will judge your scene partner’s ability to listen based on how your lines sit in the mix. Keep the sound design invisible so your choices remain the only thing they remember.
Comments
Leave a Comment
Comments appear right away.